A long time ago, in the 90s, my dad gave me a refracting telescope as a Christmas gift. It is a Bushnell 600 mm refracting scope that was supposedly capable of 150x magnification. From the problems it suffers, the most severe are the 4 mm eyepiece which had some bad optical design, and the flimsy tripod. So, in this article, I will show how I build a digital refracting telescope using this bad piece of engineering and some dirty cheap stuff I’ve got in my backyard.
In the case of my telescope, the image is plagued by internal reflections of the optical parts of the eyepiece. Every optical engineer knows that the image planes might not coincide with optical surfaces because any dust or imperfections appear to the user. The design of this particular eyepiece is so bad that the 150x magnification is useless because the image lacks contrast and there are lots of dust spots everywhere.
Adding to this problem, the tripod isn’t rigid enough. Any minor movement rapidly becomes a major vibration that prevents observation. Minor things like a breeze or hand movement next to the telescope would result in terrible vibrations with almost no damping. So, half of the digital telescope build is about getting a nice and sturdy tripod.
Those things turned the experience frustrating, though. It works really well with a 20 mm eyepiece, but 30x magnification doesn’t go the extra mile I always wanted. However, as years passed and I became an optical instrumentation specialist, I had got some tricks under my sleeve that would be very much appreciated by my old refracting telescope. Let’s see how to use some basic physics knowledge to build this digital telescope.
Theory of operation of a refracting telescope
A refracting telescope works by collecting light through a long focal length lens at the front, which is called an objective. The greater the focal length, the more magnification you get. As we had learned from physics, for a single lens, light traveling for very long distances forms an image around the focusing distance. You can get more in-depth information here.
However, this image is formed in a plane placed at a very specific distance from the lens. Some millimeters off this position and the image becomes a blur, or, being more technical, it has a shallow depth of field. For this reason, it isn’t practical to observe an image that comes directly from the objective lens with our naked eyes.
On the other hand, the human eye also has its own lens, which is more or less equivalent to a convex lens of 22 mm focal length. This means that the condition in which the image is formed in our retina is determined by the conjunction of the telescope objective and our eye’s lens. In other words, we wouldn’t get much magnification or field of view.
For this reason, a second lens, which is called the eyepiece (because it is the closest piece to the eye) is added, so the emerging image of the telescope actually forms in a much broader distance from the lens. In this case, we might say the image has a long depth of field. This relieves our eye from the stressing task of focalizing an image with a shallow depth of field.
Also, the total magnification in a refracting telescope is given by the ratio of the focal length of the eyepiece and the focal length of the objective. In my case, since the eyepiece had 4 mm and the objective 600 mm, m = 4/600, so m = 150. I have another eyepiece of 20 mm, which gives us a magnification of 30x. This one works fine, but I wanted to go the extra mile on this telescope.
Why build a digital telescope?
So, recently, I remembered my forgotten Chinese refracting telescope and put it to observe the moon. While replacing the eyepieces, I had noticed that the image from the objective forms a circle of about 5 mm in diameter around the focal distance.
Then, I realized that if I remove the eyepiece and put a camera in the focal distance, I would have a nice, clean, and very magnified image, since I wouldn’t have the crappy eyepiece in my way.
That said, it is a no-brainer. So, I started looking for a camera for the job. At first glance, the obvious choice is a DSLR, right? However, after 30 seconds of thinking, I realized that an APS-C sensor would be way too big. Since such sensors have 25.1 x 16.7 mm, only a small portion of it would capture light because the image from the objective had about only 5 mm in diameter.
This means two things. First, only a small portion of the sensor would be used. Second, the best advantage of a large sensor for photography is the bigger pixels. However, this is not ideal if one wants to crop the image forr digital magnification.
A smaller sensor with the same number of megapixels would provide a much higher resolution, which means we could crop a lot of our images to improve the magnification even more.
So, for my plan to work, I would need the smallest sensor possible with the greatest number of megapixels possible. Thus, the way to go is any compact camera, because their sensor is small. A standard 1/2.3″ has 6.17 x 4.55 mm which fits our image dimensions perfectly.
Life is made of sacrifices
However, there is a catch. I am not aware of a compact camera with interchangeable lenses. All cameras with those little sensors are either cellphones or something like a Sony Cybershot or a Nikon Coolpix. Since I needed a bare sensor without optics, a way of removing the camera’s lenses should be developed. The problem is, how to remove the lens without preventing the camera from working?
Those compact cameras are automated beasts. They are not made to work at all with missing components. For example, if you simply remove the lens barrel, the camera will most probably refuse to power on.
In this case, the plan is to remove all the optical components of the lens barrel while keeping all the mechanics and electronics intact. Since the camera can’t detect it electronically. Then, when the image is correctly formed using the telescope lens and focusing system, it will think it had focused the image correctly and will allow us to shoot.
That was the plan. So, the next step was to find the perfect sacrificial victim. It was a matter of minutes searching in the local listing before I could find a pristine Sony Cybershot DSC-S2100. Half an hour later I had the almost perfect camera for the job, and I had paid less than 5 dollars for it.
In the following hour, I got into the infamous task of destroying a Zeiss Lens. Ok, I know it is not a genuine Zeiss but, come on, they are nice optical parts anyway. All that done, the camera still worked fine. To make sure it was shooting alright, I made some images using a Pentax vintage lens I’ve got over my desk. Worked like a charm.
The next day, I went ahead and built an adapter to attach the camera to the telescope, as you may see in the photos below. It is as simple as it could be. Just a bracket to keep it firmly attached to the eyepiece mount. The camera was fixed using its tripod 1/4″ screw at the bottom. I also made sure the tip of the barrel touched the end of the telescope tube, so it was parallel and no external light would make its way through.
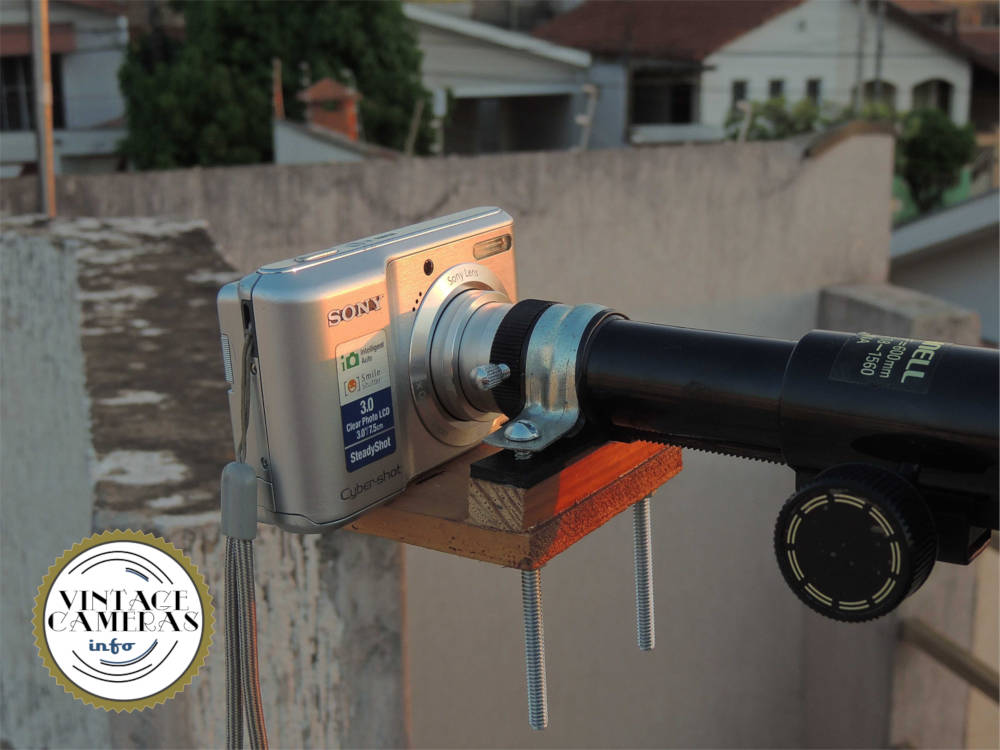
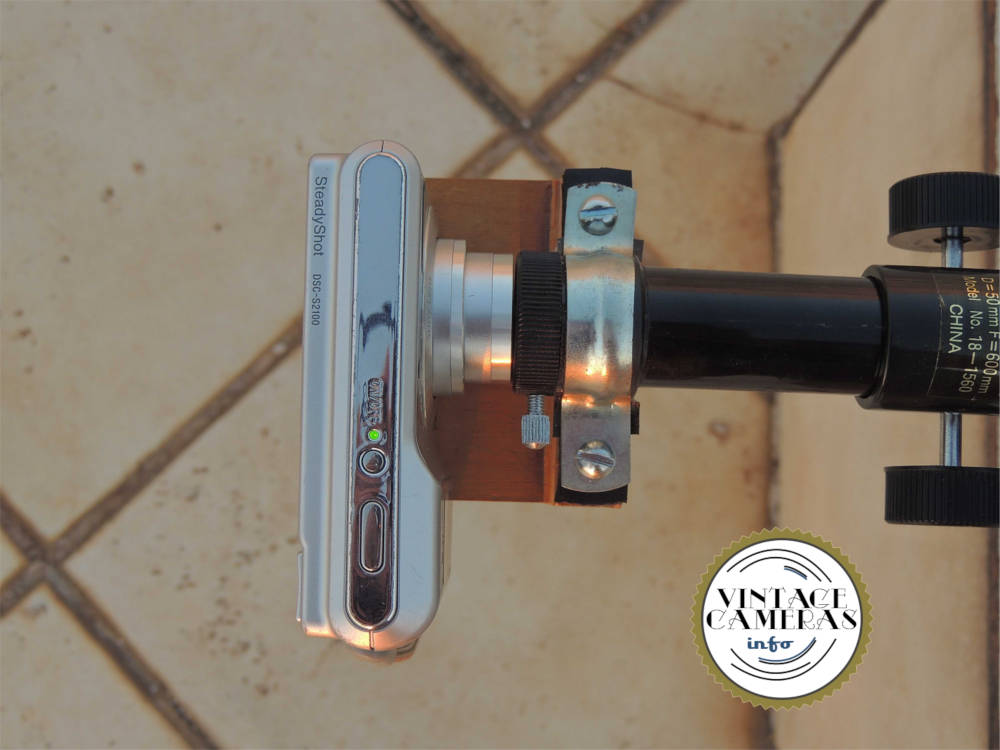
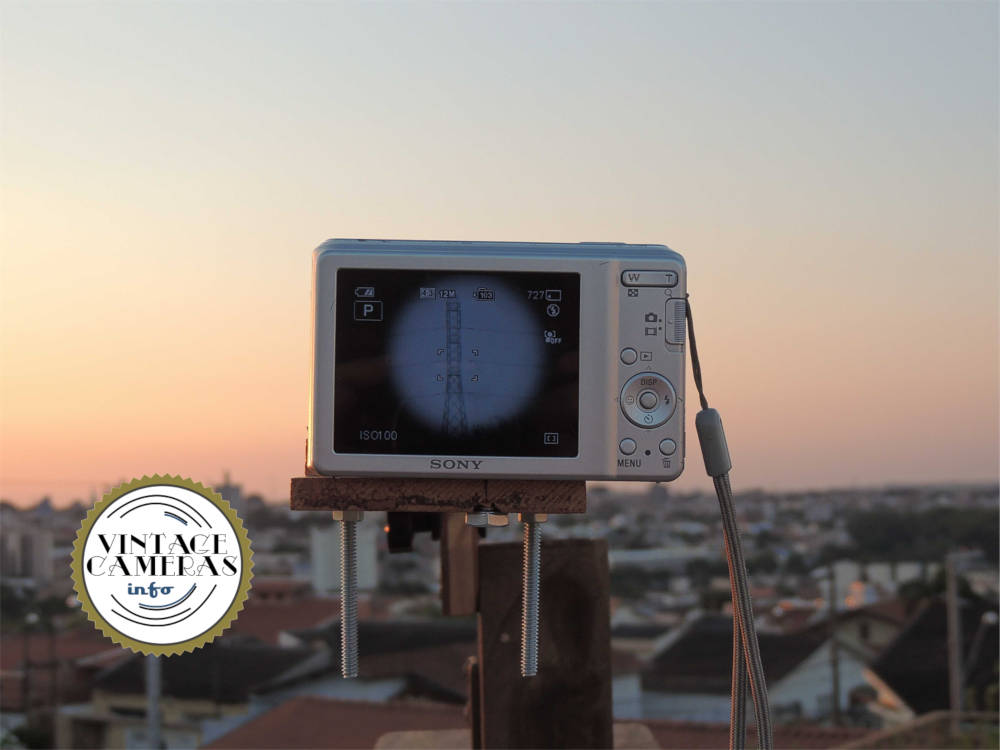
Next, it was time to aim at something and try to focus while the camera was on. The result is the image below. I’ve got this energy tower that was about 1.5 miles (3 km) from my place. The image fitted the camera sensor nicely, I must say.
However, the vignetting, which is the dark part of the image, is due to the diaphragm of the camera lens that I couldn’t remove. So, for now, I am going to keep it this way until I find a better solution.
You might be thinking about how much ‘x’ I’ve got with this thing. For comparison sake, my Nikon P510 has a 200 mm lens and a 1/2.3″ sensor, which is rated at 42x. Since I’ve got 600 mm in a 1/2.3″ sensor, I must assume I’ve got 3 times the magnification of the Nikon. So, I am going to say about 120x optical magnification plus a lot of digital. With the images on a computer, I think we can go easily up to 300x. Problem is, then, the actual lens resolution.
A good mount is key to build a digital refracting telescope
So, the camera solved the eyepiece problem but the tripod was yet something to tackle. For this task, I didn’t want to get too much fancy, since I really don’t need any sophisticated positioning system right now. It needs to be stable and that’s it. No more, no less.
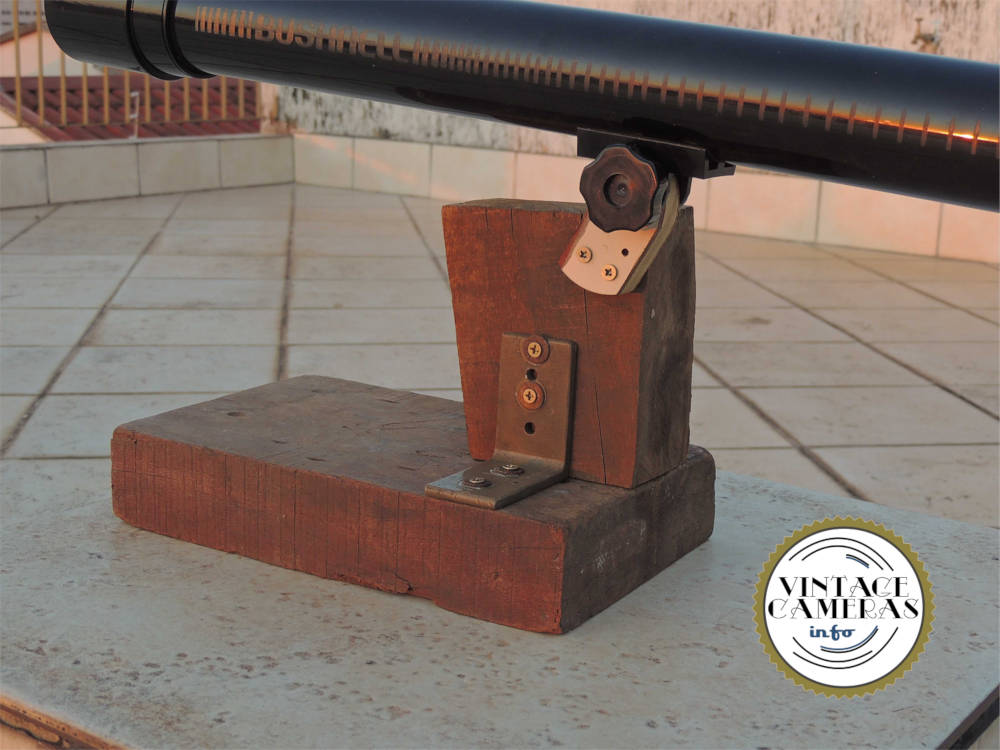
The best way to be stable, of course, is to have a lot of mass. Inertia is our best ally here. For this reason, I’ve got the chunkiest wood pieces I had in sight and built the most sturdy support I could imagine. Oh boy, and this is heavy. I think this base is almost 3 times heavier than the telescope and camera together. And it worked like a charm. No more vibrations, even with this magnificent image amplification.
Some sample images from my digital refracting telescope
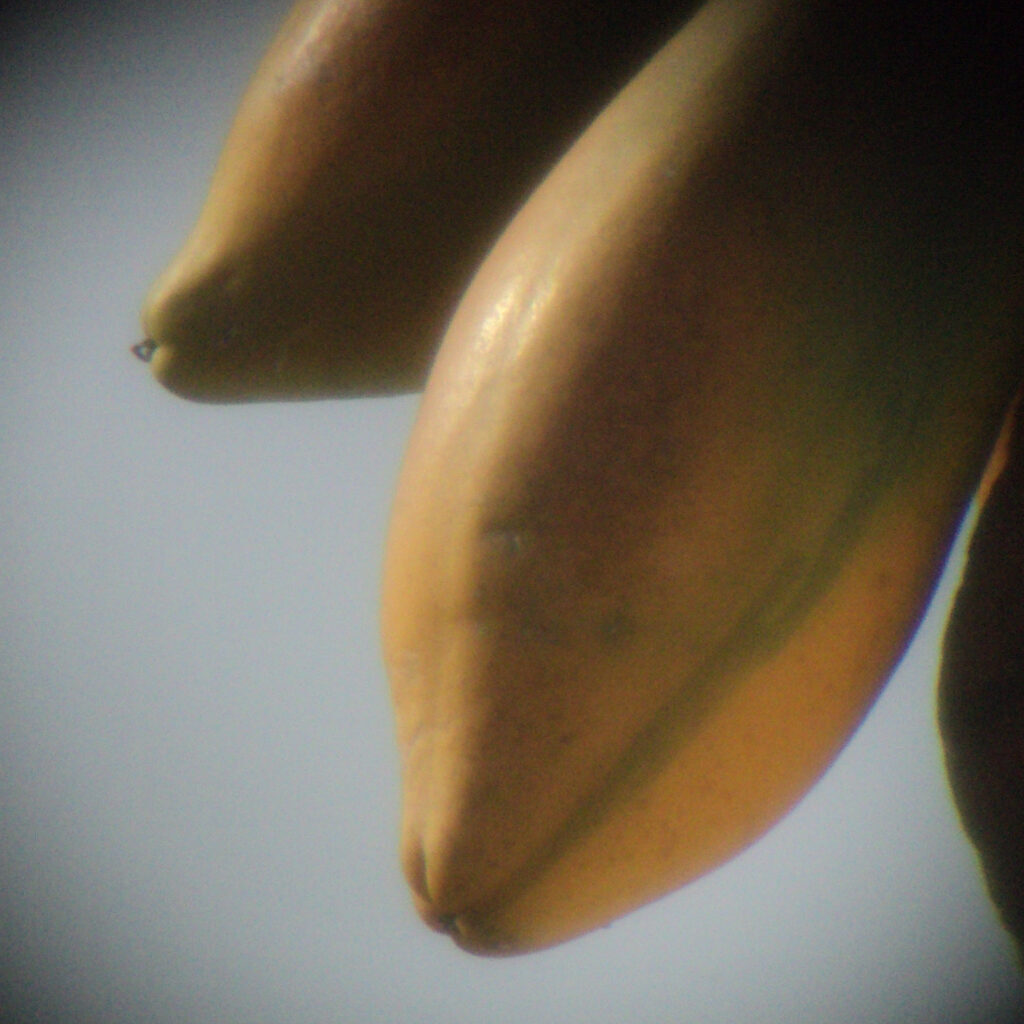
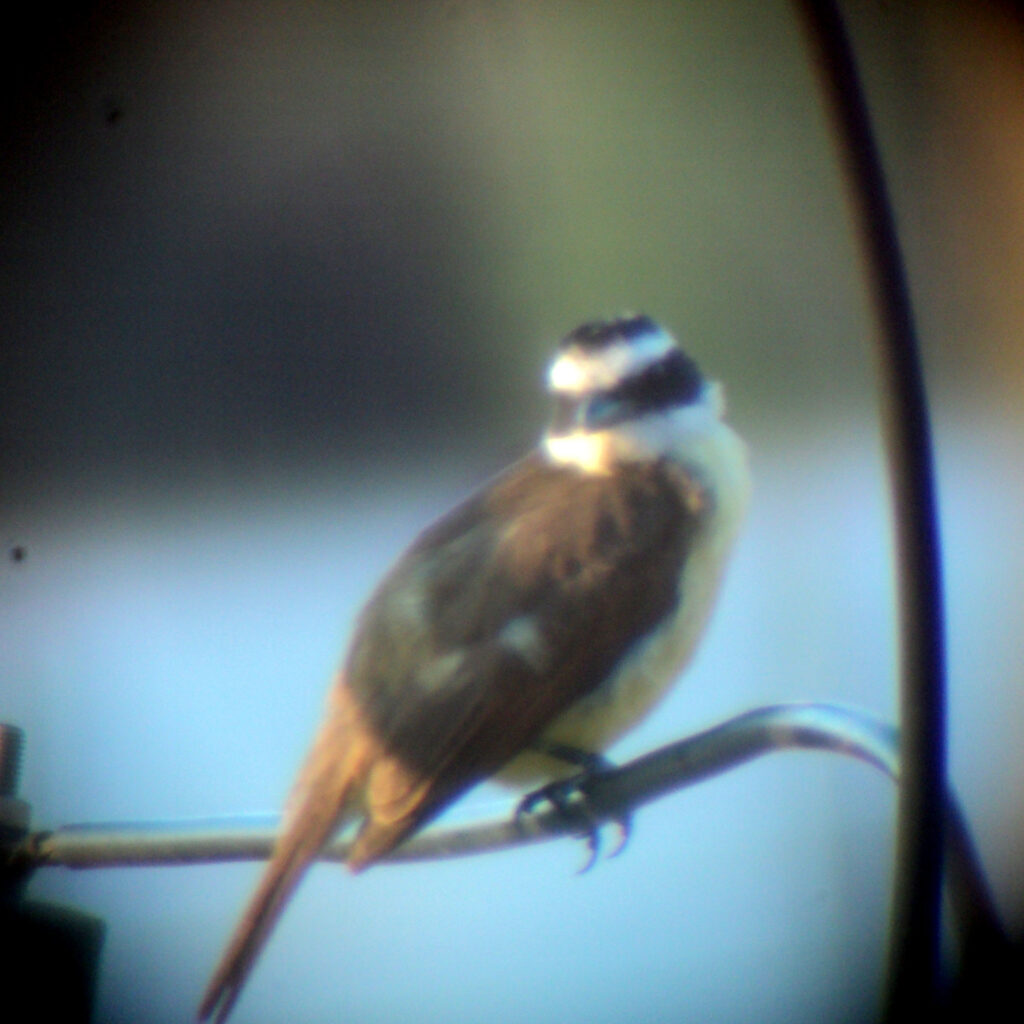
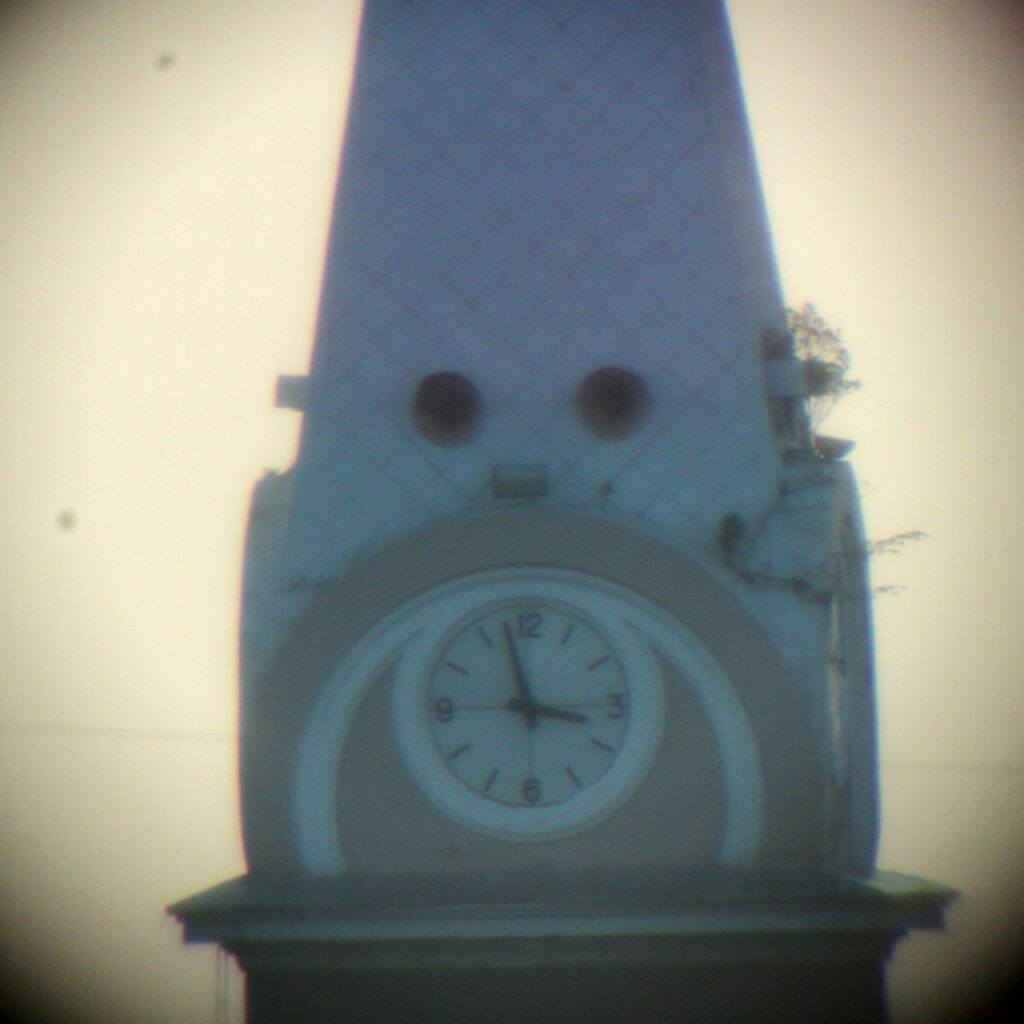
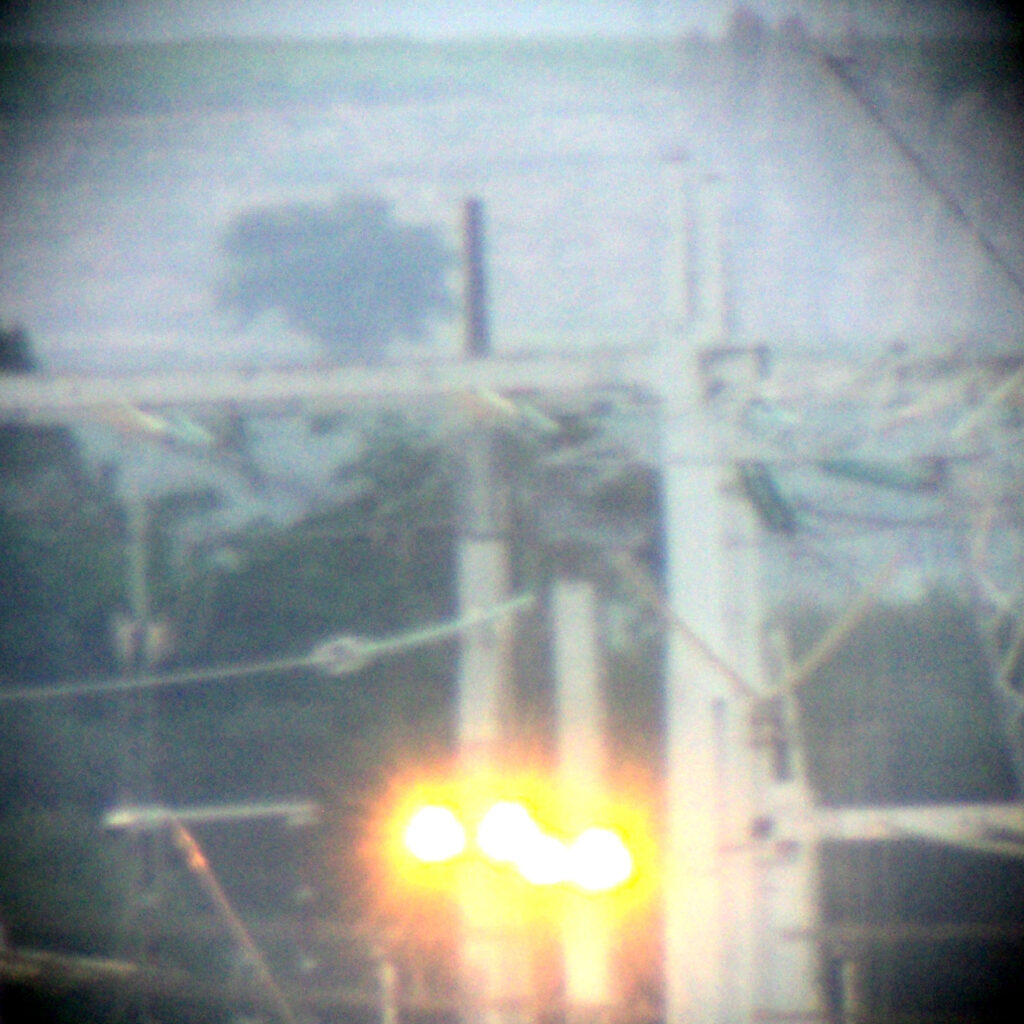
All set and done, the next step was taking some images with my digital refracting telescope setup. I had several shots taken from objects as close as 50 yd (50 m) and as long as 2 miles (5 km). The colors were very nice, as the papayas below show.
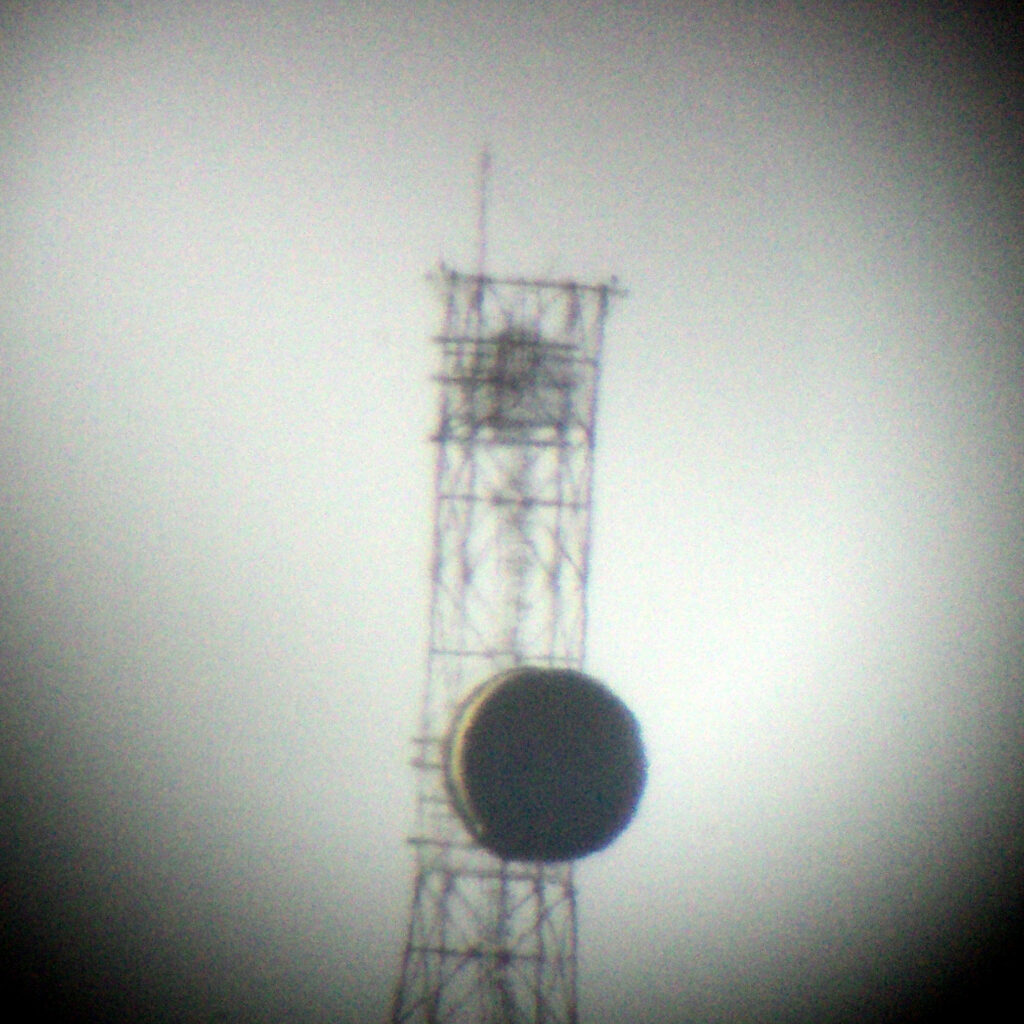
However, I must say resolution suffered at extreme distances. The cellphone tower below was about 3 miles (5 km) away from my place. Of course, it is made of very thin metal, so it is a resolution challenge, afterall. Although we can see a lot of features, definition was not that great and there are lots of cromatic aberrations here.
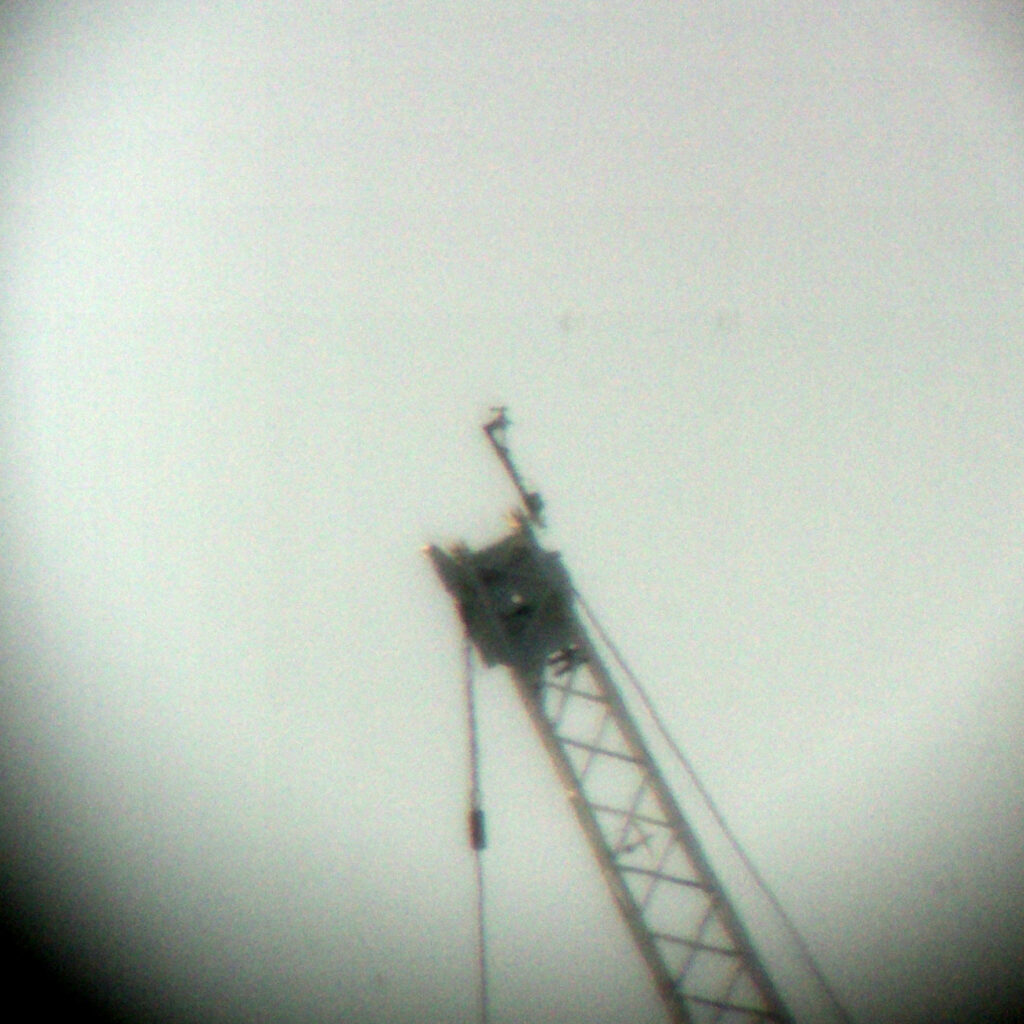
The same goes for nearer objects, like this crane below. However, I must it say this image is very comparable with the best I’ve got with my Nikon P510.
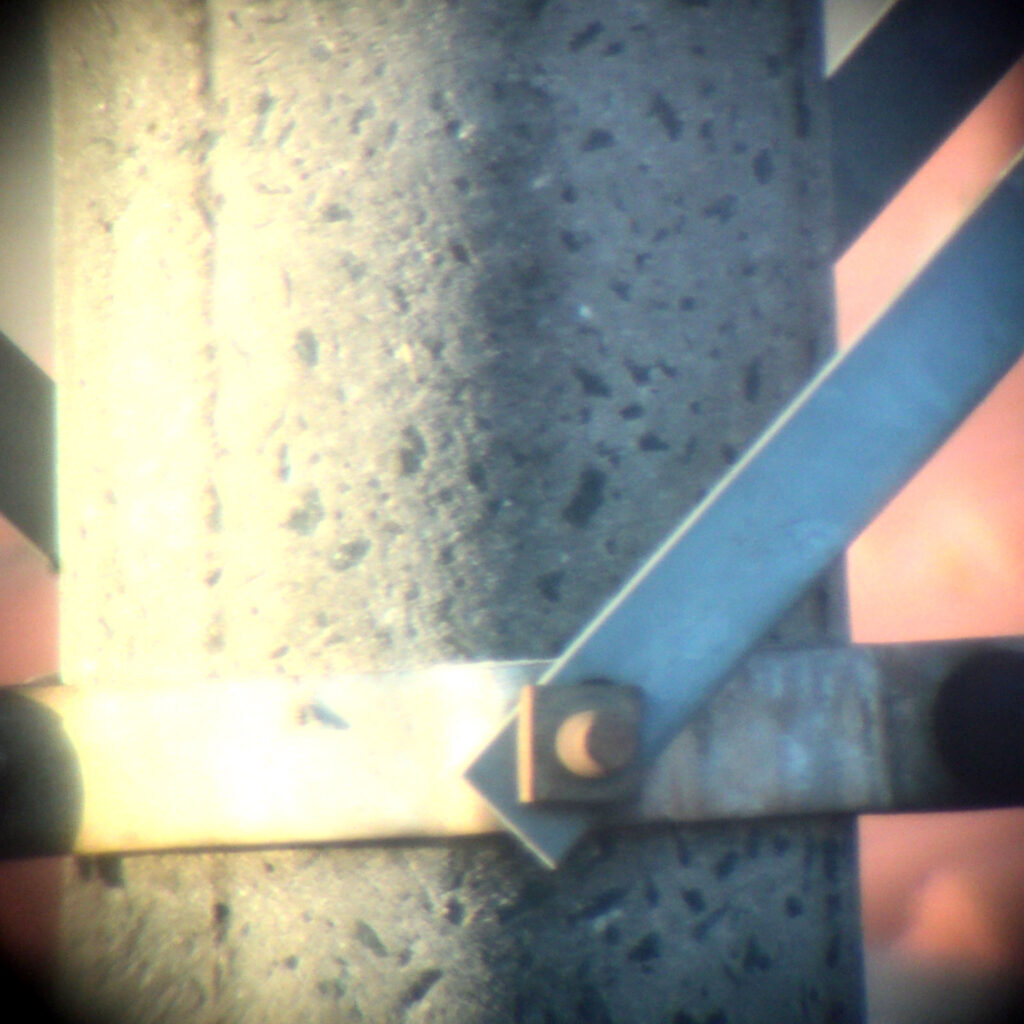
Apart from that, contrast was another problem and lighter areas suffered a lot. However, I am not so sure that focusing was on spot because the adjustment screw of the telescope is quite course. Along with that, focusing is a challenge in a small screen. I coouldn’t guarantee the paralelism between the camera sensor and the image plane also. This may be a serious culprit for the lack of sharpness here.
Final thoughts and future improvements in my cheap digital telescope build
For some dirty cheap equipment, I think the results are very good. However, the objective lens quality let a lot of resolution over the table, along with color aberrations.
Another problem is that I was not so careful about the parallelism of the camera sensor and the telescope. This might explain some of the resolution problems I had. Since the image from the objective has a very shallow depth of field, if the sensor is slighted tilted the image wouldn’t be as sharp as possible.
Finally, I must say that the main objective of this experiment was to observe the rings of Saturn. It was a pain to aim the telescope at it because the mount was not meant to be moved around and also due to great magnification of the image, which results in a small field of view.
However, after an hour of struggle, I had managed to get it on my screen. But, since the DSC-S2100 doesn’t have a manual mode, I could not get an appropriate exposure time to make a nice photo. It had a good size on the screen, but since the camera can’t determine the exposition parameters correctly due to the fact that only some pixels in the sensor are illuminated, it always overexposed the shots. So, Saturn is just a bright blur in a black background on my photos.
On the other hand, exposition works fine in video mode, so I could film Saturn moving in the sky very decently. But, this camera films only in VGA mode, which has very little resolution. I could almost see the rings of Saturn, but I lacked some pixels here.
The next steps on this digital telescope build will be the fine-tuning of the sensor parallelism and some kind of shutter to allow correct exposure of Saturn.
And, if you want do it yourself, just look for cheap telescopes on eBay or Craiglist. You can get one and an old compact camera, like I did, for next to nothing. If you want to be fancy, you can buy specialty high-quality lenses from companies like Newport, ThorLabs, and Edmund Optics. However, it won’t be cheap, be advised.